Although not always necessary, a thumb attachment can dramatically increase efficiency in a workplace. It gives a standard bucket better performance and versatility for all types of tasks.
A mini excavator thumb is a good investment if you have multiple projects. They can handle high-precision land clearing, material handling, building, and utility applications.
Before getting a mini excavator thumb, look at these frequently asked questions first.
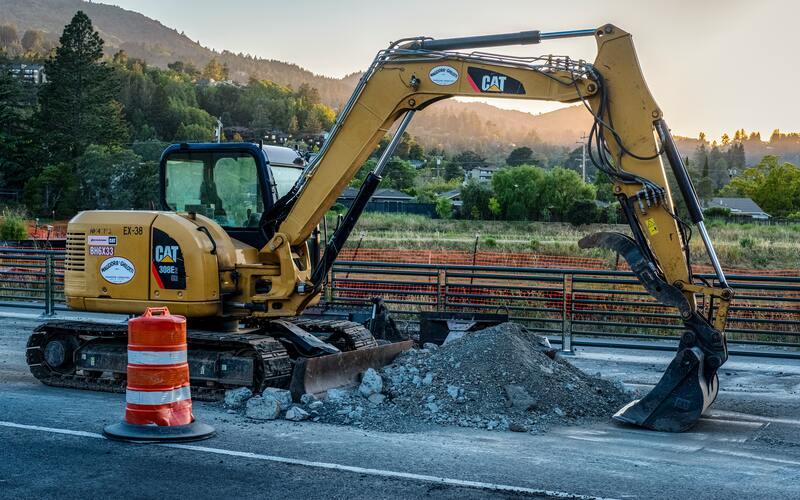
When Do You Need A Thumb Attachment For A Mini Excavator?
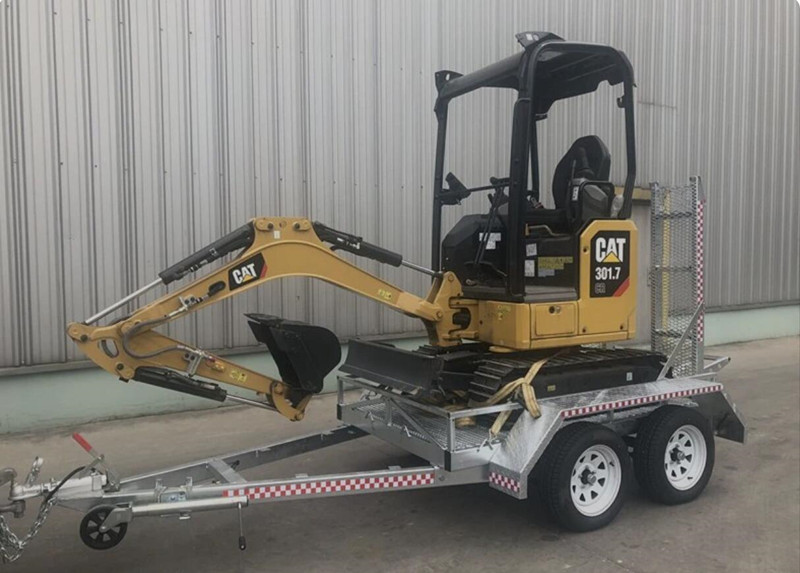
Mini excavator thumb attachment
Although thumbs are highly efficient in the workplace, they are not always one of the first choices for mini excavator attachments. Before starting your project, you must evaluate your needs first and see if a thumb will help you make the tasks more convenient.
Thumbs are often used when a task requires an extra grip to secure the materials being moved. It is great for grabbing and holding onto things in the bucket.
Mini excavator thumbs are useful and valuable when handling things that do not fit inside the bucket. It could be large chunks of rocks, debris, or other materials. Thumbs provide additional support for more secure transportation of materials so you will not lose them while the machine works.
Thumb attachments are great for utility, landscaping, and construction. They are a good investment if you plan to use them on projects requiring an extra grip.
However, not all kinds of jobs need a thumb. You still need to consider the type of tasks you will do so you won’t make unnecessary spending on buying or renting this attachment. For example, a thumb won’t help handle fine materials like sand or soil.
Can I Add A Thumb To Any Mini Excavator?
There are universal thumbs available that you can attach to most excavators. Their pin is part of the thumb, so changing the bucket will be more accessible while maintaining good rotation.
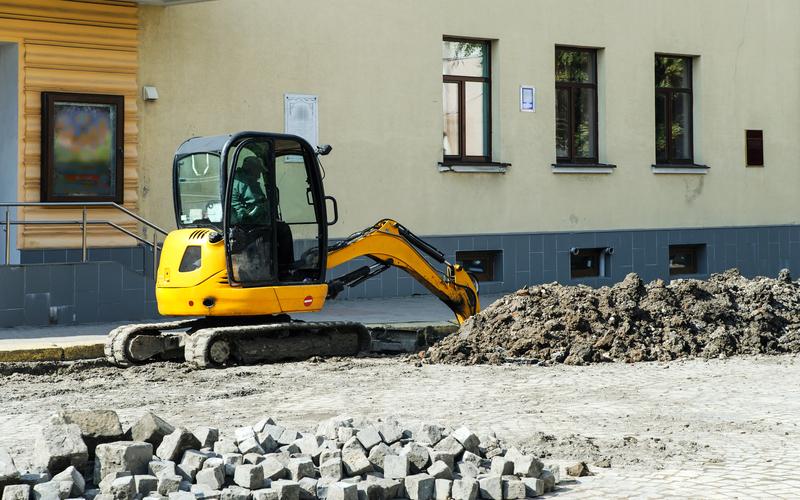
Things To Look For When Buying Mini Excavator Thumb
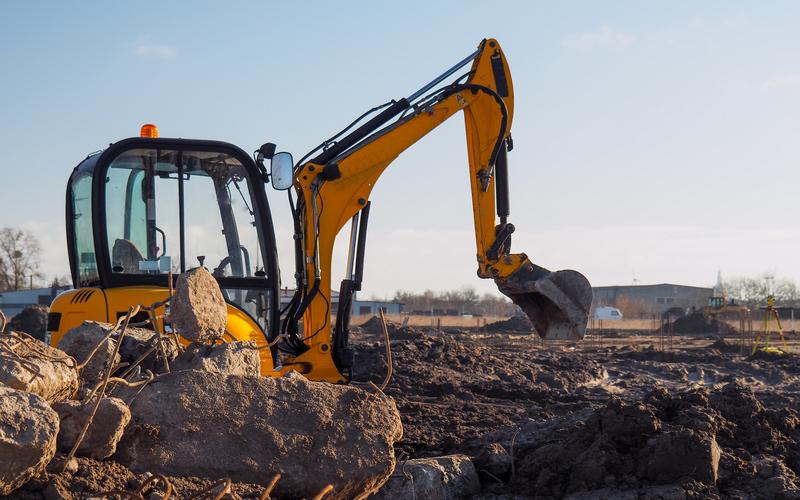
Mini excavator thumb guide
If you are planning to buy or rent a thumb for your mini excavator, these are the areas you need to check:
Buying
When choosing which thumb is best for your mini excavator, you have to consider if it will match the machine. Although there are universal thumbs that can connect to almost any excavator, you still need to review their specifications, size, and weight. It will be an additional load for the machine and may affect how you progress with the tasks.
The thumb should be aligned with the bucket of your mini excavator so that it will be in sync while rotating. This also includes the tines mesh intertwined with the bucket teeth. This applies to both hydraulic and manual thumbs.
Most excavator thumbs have two tines, and you’ll need to talk with your equipment dealer to see the best type of thumb you need for your current project.
Operation
The techniques for the operation of the bucket and thumb together depend on the application. Operators should familiarize the operator’s manual because these machines also have limitations and capabilities.
You should never push a mini excavator and its attachments beyond what they are recommended to do, as it can damage them. This would reflect on your operations cost and compromise the lifespan of your machine.
Maintenance
The bucket and the thumb attachment should always be included in the daily inspection. They deal with different materials at a work site, so they are just as susceptible to wear.
After every use, you should look for signs of wear and abrasions around the pins. Ensure that the bushings are cleared from the debris and dirt you are working with.
Check out the manual for the grease intervals for the coupler, bushings, and pins. This would keep these components lubricated and working well, extending the lifetime of the attachments.
Regularly inspecting the bucket teeth and thumb can prevent unnecessary setbacks in the site, as worn-out teeth will only cause the machine to work against itself. It will reduce your overall productivity and prompt the machine to use more fuel than it needs.
Even though they may be cheaper, worn-out attachments will not benefit you in the application. It could only increase the hours needed to finish the project, which can cost more than anticipated.
Proper maintenance of the essential components can ensure that you’ll have a more efficient work environment.
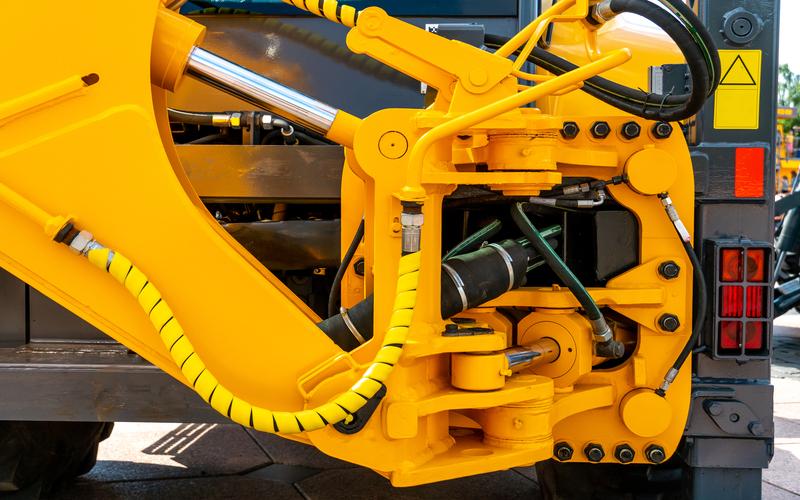
What Are The Types Of Mini Excavator Thumbs?
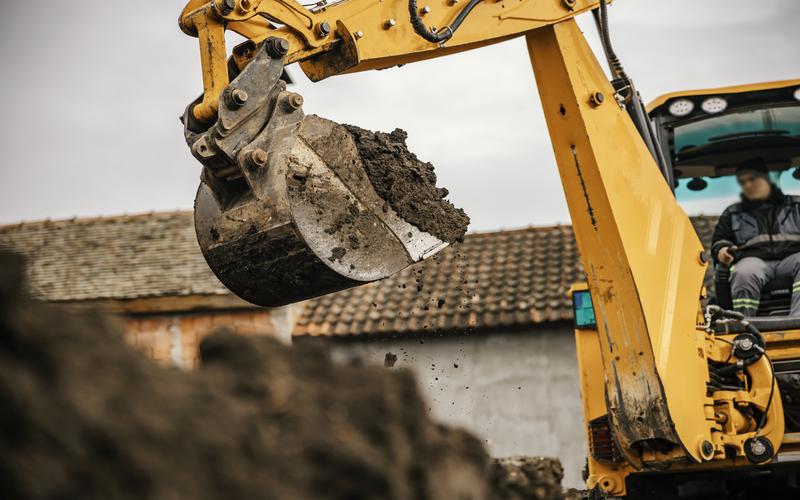
Mini excavator thumb types
There are two types of thumbs that you can get for your mini excavator: manual and hydraulic thumb. Both of them have their benefits and setbacks, so let’s see what they have to offer.
Pin-mounted thumbs
Pin-mounted thumbs are best for picking up and placing materials. They can rotate as a pivot pin does for the bucket or coupler.
These thumbs are durable and have some of the best designs available. They may come in different rotation styles, so you must ask your local dealership.
Pin-mounted thumbs are quick to install and offer excellent performance for all tasks. They can secure the load while you transport them from one place to another.
Heat-treated pins and bushings are easy to replace and lubricate, making them smoother. They also have dual-cushioned thumb cylinders.
Mechanical thumbs
Mechanical thumbs are the cheapest thumb you can get for your mini excavator. They are typically mounted using a simple weld-on bracket that requires no hydraulics and special pins to install.
Hydraulic thumb
There are two types of hydraulic thumbs that you can get:
A. Hydraulic weld-on thumb
You can get hydraulic weld-on thumbs that are available in various sizes. The back plate of these devices is weld-on onto the excavator’s stick, giving the machine more position for the arm to navigate. This allows the mini excavator to grip any materials you are working with conveniently.
A hydraulic weld-on thumb can connect to any excavator. It is easy to adjust and install to complete the task immediately.
This thumb type is best used for holding irregular-shaped rocks, branches, debris, and concrete that do not always fit right into a bucket.
B. Hydraulic pin-on thumb
Pin-on thumbs are customized products specifically designed for your bucket. You can easily link them up using a quick hitch with its pin-on function.
Aside from that, you can also customize its tines and match it to the number of teeth and width of the bucket you plan on using. This will allow you to achieve the maximum level of productivity for the job.
To give you a better idea, here’s a quick example:
If your bucket has five teeth with a width of 1060mm each, you can have the thumb attachment to have four teeth with a width of 760mm. This ensures the thumb seamlessly goes through the middle of each bucket’s teeth for more effective material handling.
Pin-on thumb attachments have all the great features you’ll need, but installation is much easier.
C. Hydraulic progressive thumb
Progressive thumbs feature 180 degrees of rotation, making them the best for handling irregular-shaped materials.
This thumb can easily pick up and move the large debris, boulders, logs, branches, etc.
How To Install A Thumb On A Mini Excavator?
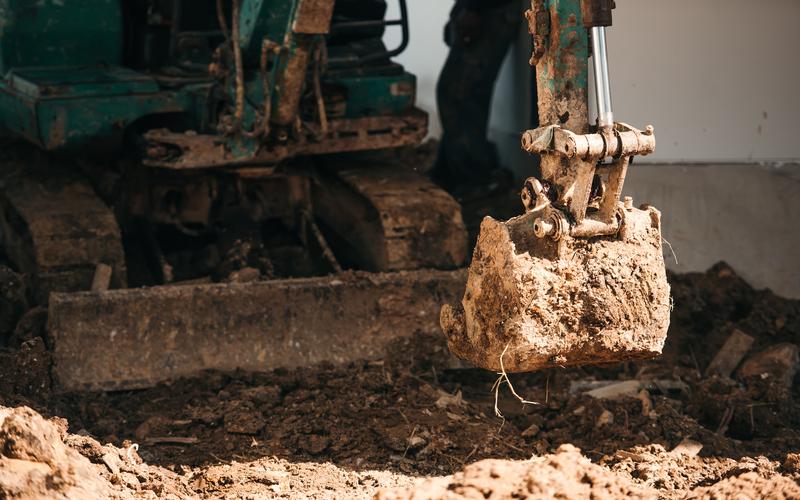
Installing mini excavator thumb
One of the many good things about mini excavator thumbs is that they are relatively easy to install. You usually won’t need additional equipment to connect them to the machine arm and have it in sync with the bucket’s movements.
Here’s a brief step-by-step guide on installing a thumb on a mini excavator. However, keep in mind that this is mainly an overview of the general steps, and it can vary depending on the type of thumb that you are using:
- Prepare all the pieces, tools, and hardware you need for the installation. If you are unsure which components to include, you can always look for them in the manual.
- Install the thumb or the base at the end of the arm pin.
- Connect the cylinder from the thumb to the arm of the mini excavator.
- Install the hoses to connect the mini excavator controls to the thumb.
- Inspect the connections of the thumb to the arm of the machine. Secure all parts and ensure everything is in place before proceeding with the operation.